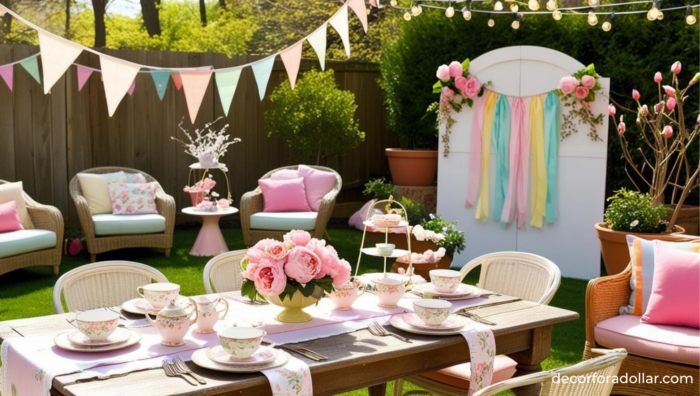
Garden Tea Party Ideas
Hosting a garden party is a wonderful way to enjoy the beauty of nature with friends and family. Whether you’re celebrating a special occasion or simply enjoying the warm weather, these cute and simple decorating ideas will help you create a charming and inviting atmosphere. Keep reading to see these Cute & Simple Garden Party Decorating Ideas!
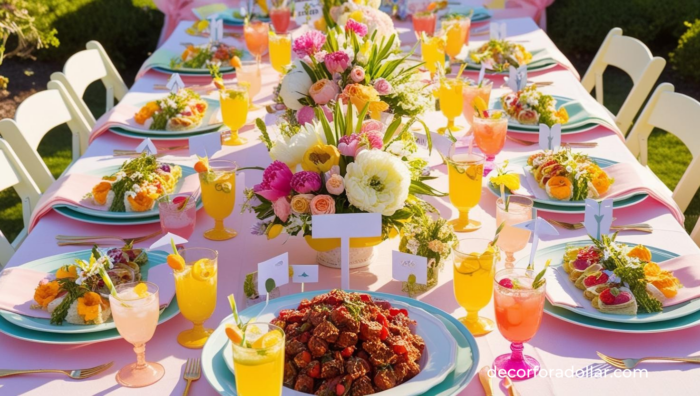
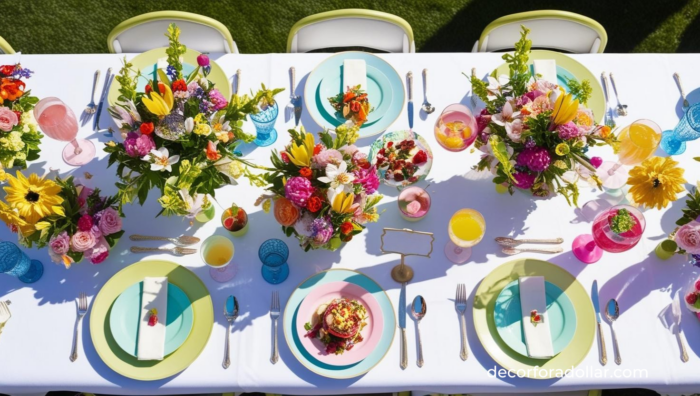
1. Floral Centerpieces
Create stunning centerpieces using fresh flowers from your garden or a local florist. Choose blooms that complement your garden’s natural color palette and place them in rustic vases or mason jars for a touch of elegance.
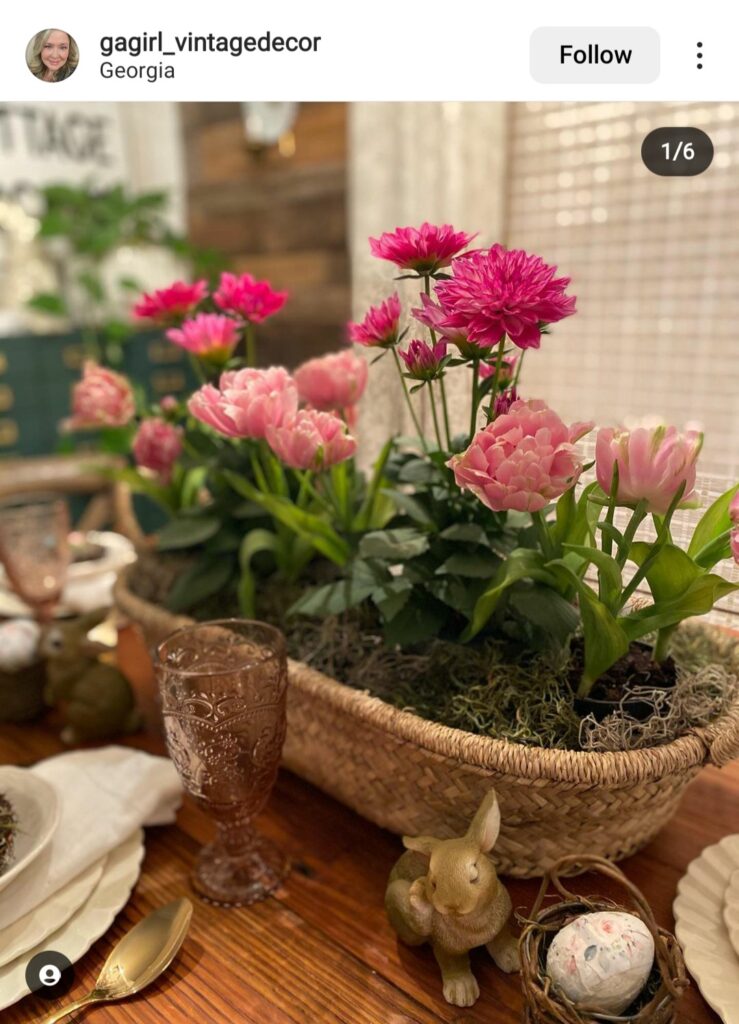
Simple Pink Flowers Garden Party Centerpiece by Gagirl Vintage Decor
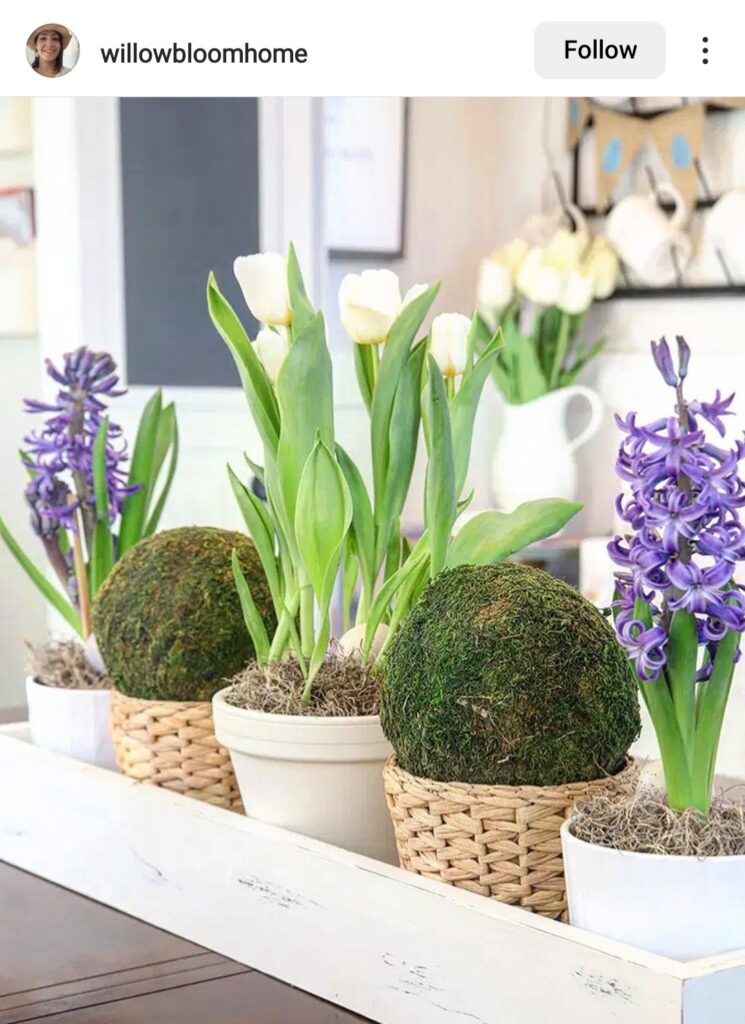
Pretty Purples Easter Centerpiece by Willow Bloom Home
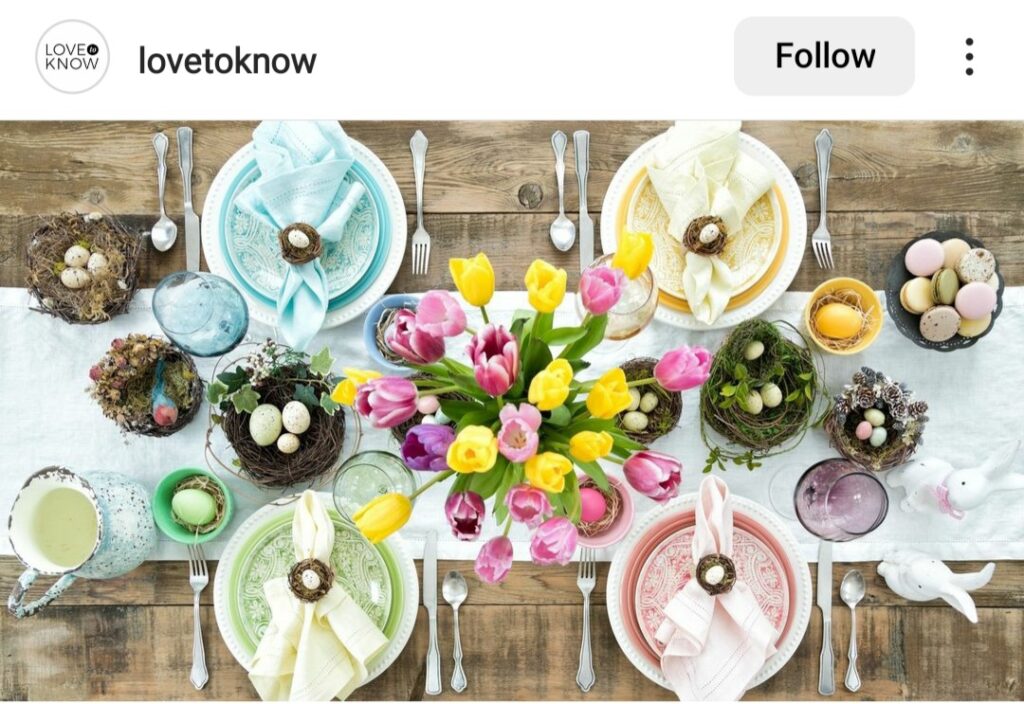
Colorful Fun Table Decorations by Love to Know
2. String Lights
Add a magical glow to your garden party by hanging string lights above the seating area. Opt for warm white lights for a classic look or colorful bulbs for a fun, festive vibe.
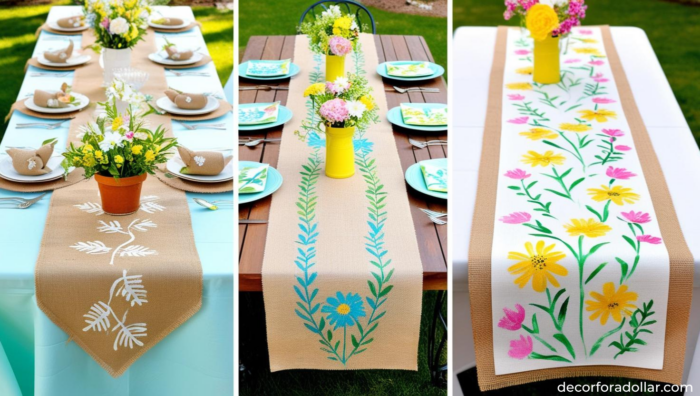
3. DIY Table Runners
Craft your own table runners using burlap or fabric that matches your theme. Add a personal touch by stenciling or painting floral or botanical patterns.
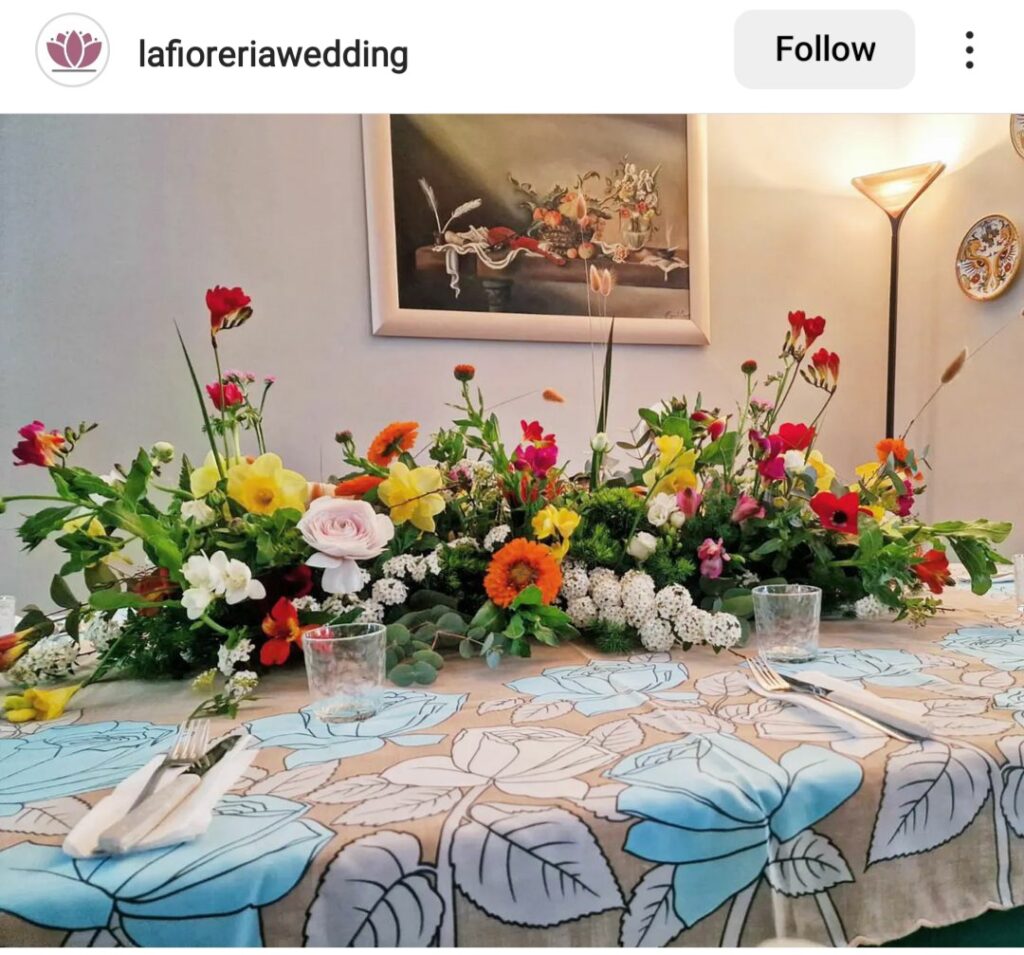
Pretty Table Runner by La Fioriera Wedding
DIY Table Runners Tutorial
Creating your own table runner is a simple and cost-effective way to add a personalized touch to your dining setup. Whether you’re preparing for a special occasion or just want to refresh your table decor, a DIY table runner can set the perfect tone. Follow these easy steps to create a beautiful and unique table runner using burlap or fabric that suits your theme.
Materials Needed
- Burlap or fabric of your choice
- Fabric scissors
- Fabric paint or stencils
- Paintbrushes or sponge brushes
- Measuring tape
- Iron (optional)
- Sewing machine or fabric glue (optional)
- Decorative trim or ribbon (optional)
Steps to Create a DIY Table Runner
1. Measure and Cut the Fabric
- Use a measuring tape to determine the length and width of your desired table runner. A standard table runner is about 14-20 inches wide and should hang over the sides of your table by at least 6 inches on each end.
- Cut the burlap or fabric to your desired dimensions using fabric scissors. If you’re using burlap, be sure to check for any frayed edges and trim accordingly.
2. Prepare the Fabric
- If necessary, iron the fabric to remove any wrinkles or creases. This will ensure a smooth surface for painting and decorating.
- Decide on the design you want to create. You can choose simple geometric patterns, floral designs, or intricate stencils to match your theme.
3. Decorate the Fabric
- Lay the fabric flat on a protected surface, such as a drop cloth or old sheet.
- Use fabric paint and a paintbrush or sponge brush to apply your chosen design. If using stencils, secure them in place and dab the paint gently over the stencil using a sponge brush.
- Allow the paint to dry completely before handling the fabric further. This can take a few hours, depending on the type of paint used.
4. Finish the Edges (Optional)
- For a more polished look, finish the edges of the table runner. You can sew a hem around the edges using a sewing machine, or apply fabric glue to prevent fraying.
- To add a decorative touch, consider attaching trim or ribbon along the edges. This can be sewn on or glued, depending on your preference.
5. Set Your Table
- Once your table runner is complete and the paint is dry, place it on your dining table.
- Arrange your table settings and decorations to complement the runner. Consider using matching napkins, centerpieces, or tableware to enhance the overall look.
Creating a DIY table runner is a fun and rewarding project that can be tailored to any occasion or personal style. With a little creativity and effort, you can transform your dining space into a visually appealing and inviting area for your family and guests to enjoy. Happy crafting!
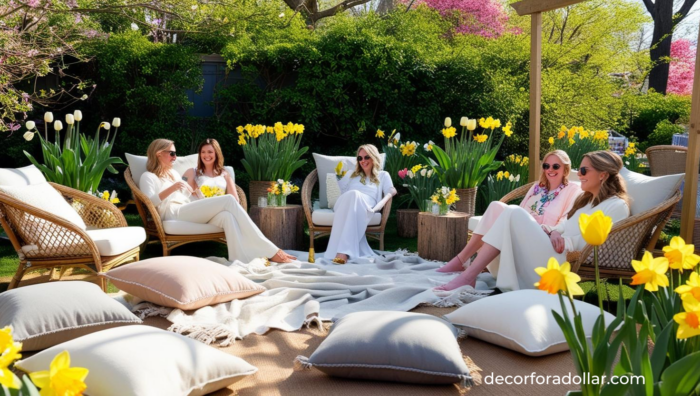
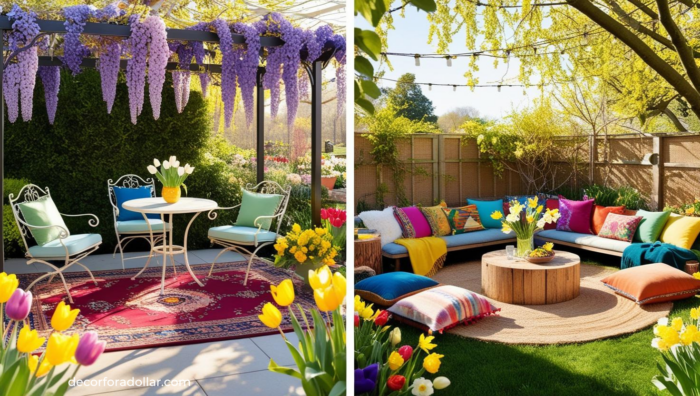
4. Cozy Seating Areas
Arrange comfortable seating areas with cushions and throw blankets to encourage guests to relax and enjoy the surroundings. Use a mix of chairs, benches, and floor cushions for a casual, inviting setup.

5. Chalkboard Signs
Guide your guests with charming chalkboard signs. Use them to label food and drinks, or to provide directions to different areas of the party.
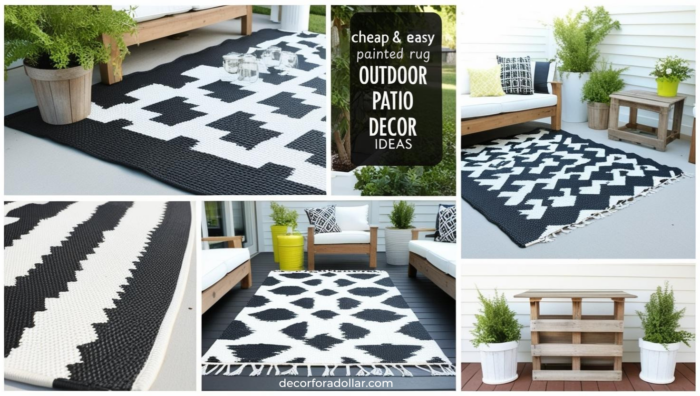
6. Outdoor Rugs
Define your seating and dining areas with outdoor rugs. Choose patterns and colors that enhance your garden’s aesthetic, and ensure they are weather-resistant.
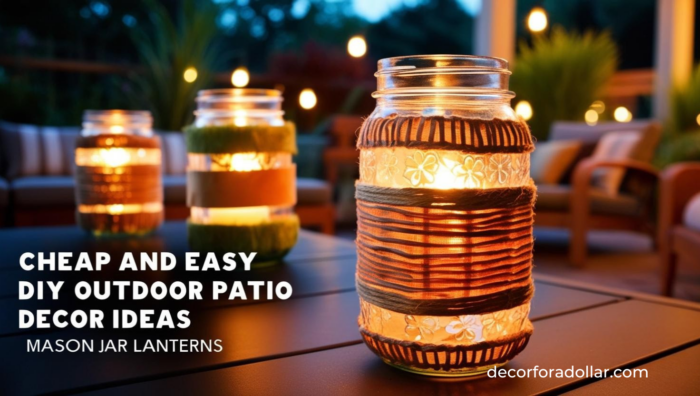
7. Mason Jar Lanterns
Create ambient lighting with mason jar lanterns. Fill jars with battery-operated fairy lights or tea candles, and hang them from tree branches or place them along pathways.
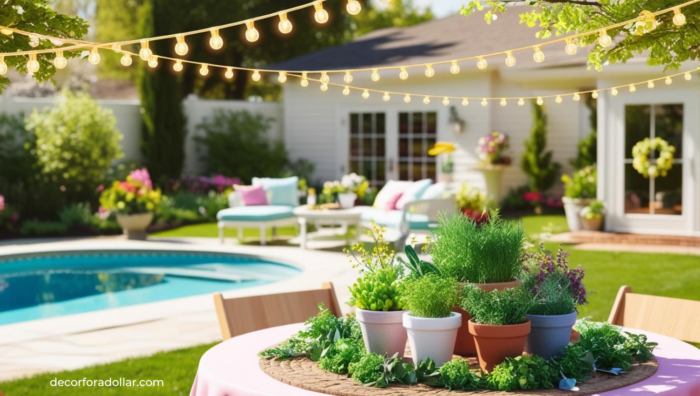
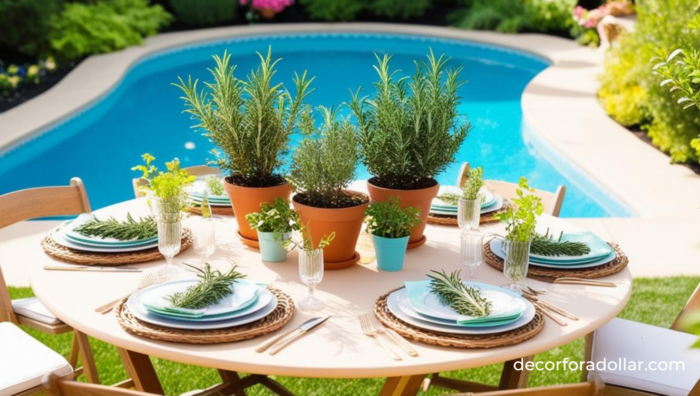
8. Herb Centerpieces
Incorporate small pots of fresh herbs like basil, rosemary, or mint as centerpieces. Not only do they add greenery, but they also provide delightful scents.
9. Colorful Bunting
Drape colorful bunting or garlands across the party area to add a festive touch. Choose colors that match your theme to create a cohesive look.

10. Vintage Tableware
Use vintage or mismatched tableware for a charming, eclectic feel. Consider thrift stores or flea markets to find unique pieces that add character to your table settings.
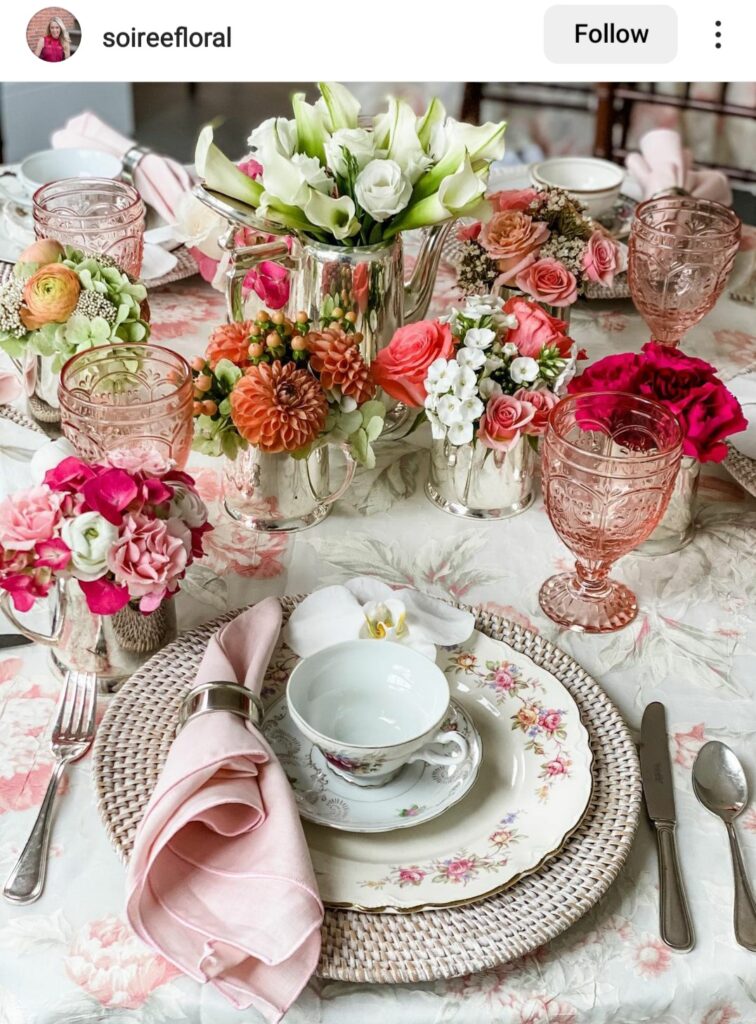
Vintage Floral Easter Centerpiece and Table Decor by Soireefloral
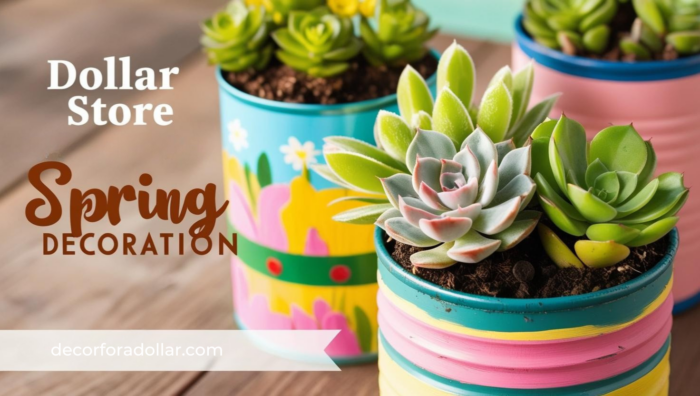
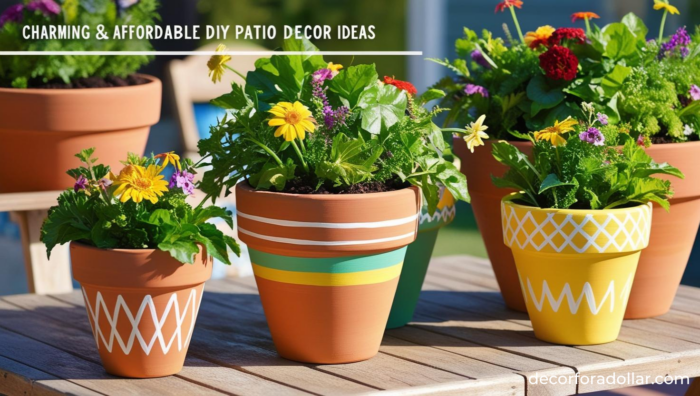
11. Potted Plants
Enhance your garden’s beauty with additional potted plants. Arrange them around the seating area, or use them as centerpieces on tables.
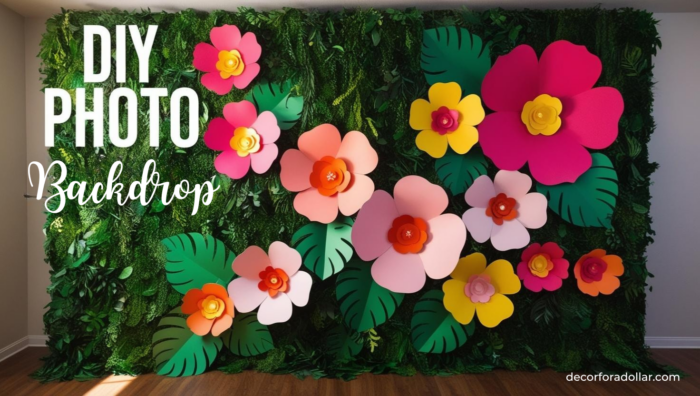
12. DIY Photo Backdrop
Set up a DIY photo backdrop with props and a backdrop that complements your garden theme, like oversized paper flowers and greenery. Encourage guests to capture memories and share the fun on social media.
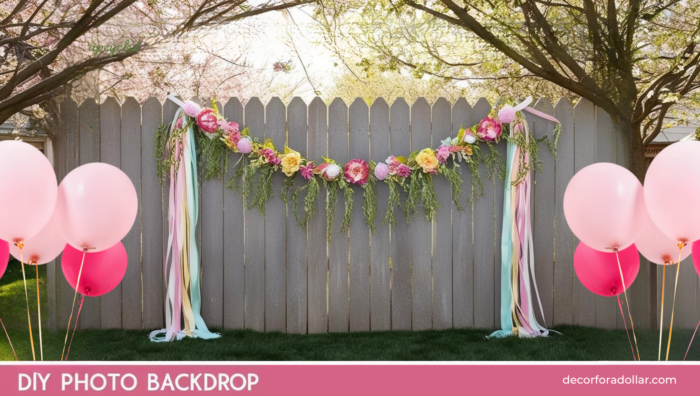
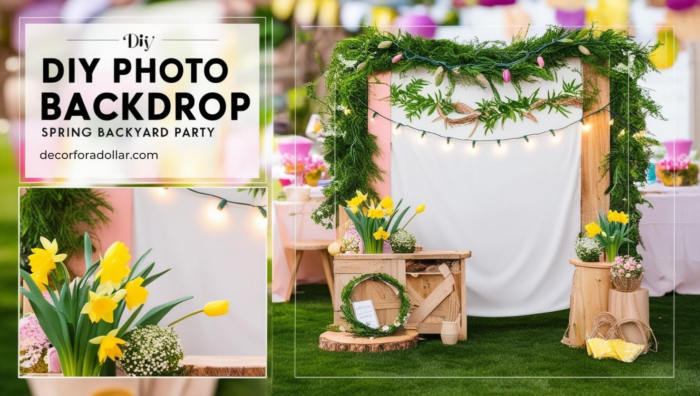
DIY Photo Backdrop Tutorial
Creating a DIY photo backdrop is a fun and creative way to capture memorable moments at any event. Whether it’s a party, wedding, or garden gathering, a personalized backdrop can enhance your photos and provide a stunning visual element. Follow this step-by-step guide to set up your own photo backdrop with a garden theme.
Materials Needed
- Backdrop Stand: You can purchase an adjustable stand or make one using PVC pipes.
- Backdrop Fabric: Choose a fabric that complements your theme, such as green or floral patterns.
- Oversized Paper Flowers: Create or purchase paper flowers in various sizes and colors.
- Greenery: Use faux vines or leaves for added texture and depth.
- Props: Include themed props like hats, signs, or garden tools to enhance the experience.
- Clips or Hooks: To secure the backdrop fabric and decorations.
Step-by-Step Instructions
Step 1: Assemble the Backdrop Stand
- Set Up the Stand: Assemble your backdrop stand according to the instructions, ensuring it is stable and at the desired height and width.
- Position the Stand: Place the stand in a well-lit area that has enough space for guests to gather and take pictures.
Step 2: Attach the Backdrop Fabric
- Choose the Fabric: Select a fabric that matches your garden theme, such as a floral print or a solid green.
- Secure the Fabric: Drape the fabric over the backdrop stand and use clips or hooks to secure it tightly. Ensure there are no wrinkles or folds for a smooth appearance.
Step 3: Decorate with Oversized Paper Flowers and Greenery
- Prepare the Flowers: If making your own, cut out petals from colored cardstock or posterboard and assemble them into flowers of varying sizes.
- Attach the Flowers: Use clips, hooks, or adhesive strips to attach the paper flowers to the backdrop. Arrange them in clusters for a natural look.
- Add Greenery: Drape faux vines or attach leaves around and between the flowers to create a cohesive garden effect.
Step 4: Set Up Props
- Select Props: Choose props that fit the garden theme, like straw hats, flower crowns, or garden tools.
- Arrange Props: Place props in a basket or on a small table near the backdrop for easy access by guests.
Step 5: Encourage Social Sharing
- Create a Hashtag: If the event is social media-focused, create a unique hashtag for guests to use when sharing their photos.
- Display the Hashtag: Print and display the hashtag on a sign near the backdrop to encourage guests to share their photos online.
Tips for Success
- Lighting: Ensure the area is well-lit, either with natural light or additional lighting, to enhance photo quality.
- Test Shots: Take a few test photos to adjust the backdrop and lighting as needed before guests arrive.
- Mix and Match: Experiment with different flower arrangements and props to keep the backdrop dynamic and interesting.
With your DIY photo backdrop complete, guests will have a beautiful and interactive space to capture memories and share the joy of the occasion. Enjoy the creativity and fun your backdrop brings to your event!
Wrap Up About Garden Tea Party Decor Ideas
With these cute and simple decorating ideas, your garden party will be a delightful success. Enjoy the company of your loved ones while basking in the beauty of your outdoor space!
You Might Also Like…
12 Cheap and Easy Outdoor Decor Ideas for Your Patio or Balcony
12 Dollar Tree DIY Garden Decor Ideas To Spruce Up Your Yard
Disclaimer: This post may contain affiliate links or a sponsored post. All opinions are always 100% mine and I don’t partner with any product or company that I don’t use and love. Please see our Full Disclosure for more information.